It’s that time of year again! We’re a bit late to the pumpkin party, but it’s never too late to have some cozy fun with your significant other. A Pumpkin Painting Date is the perfect way to spend an evening together, and the best part? It’s easy, fun, and way less messy than carving! In this guide, I’ll show you what we did, share some tips, and get you ready to start your own pumpkin painting adventure!
Pumpkin Painting Essentials
- 2 Pumpkins
- Latex or Acrylic Paint
- Paint Brushes (Assortment)
- Blow dryer
- A cup of water and paper towels for cleaning the brush
- Mixing container for paint
- Music (Get your karaoke along on)
- Drink to have together 🙂
- Pinterest App/Website (For Inspiration)
- Each other
Choosing your inspiration
Now for the fun part! Start by browsing Pinterest, Google, or your favorite social media for inspiration. We love using Pinterest because it’s packed with creative ideas from people all over, and it’s always inspiring to see what others come up with. There are so many unique designs that it’s sure to get your creative juices flowing!
Setting up your Station
Once you’ve found your inspiration, set up a nice, flat surface—like a table—where you can work comfortably. Cover it with a plastic cloth, an old tablecloth, or even a few layers of paper towels to keep things clean since the paint may end up around the pumpkin and on the surface.
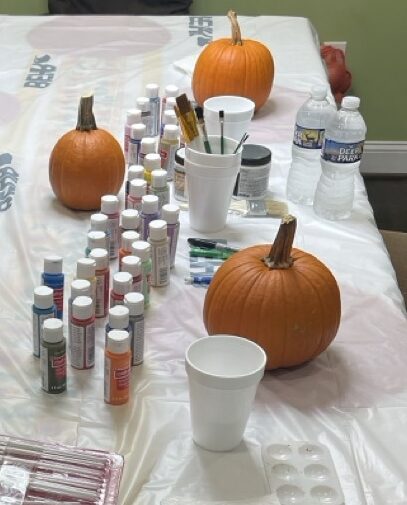
Here’s our setup! We had all our painting supplies ready: a spare plastic tablecloth, paints, disposable cups, some water to drink, and, of course, our pumpkins. Once your setup looks similar, you’re ready to dive into your pumpkin painting adventure!
Painting Pumpkin Time!
Key Tips for a Smooth Process
- Clean your brush between colors to avoid mixing shades and keep your colors vibrant.
- Keep your inspiration handy for easy reference—a photo, a sketch, or an idea on your phone. (If you can remember it after just one glance, you might have a photographic memory—impressive!)
- We placed our phones beside the inspiration image, with our supplies in the middle, making it easy to share ideas.
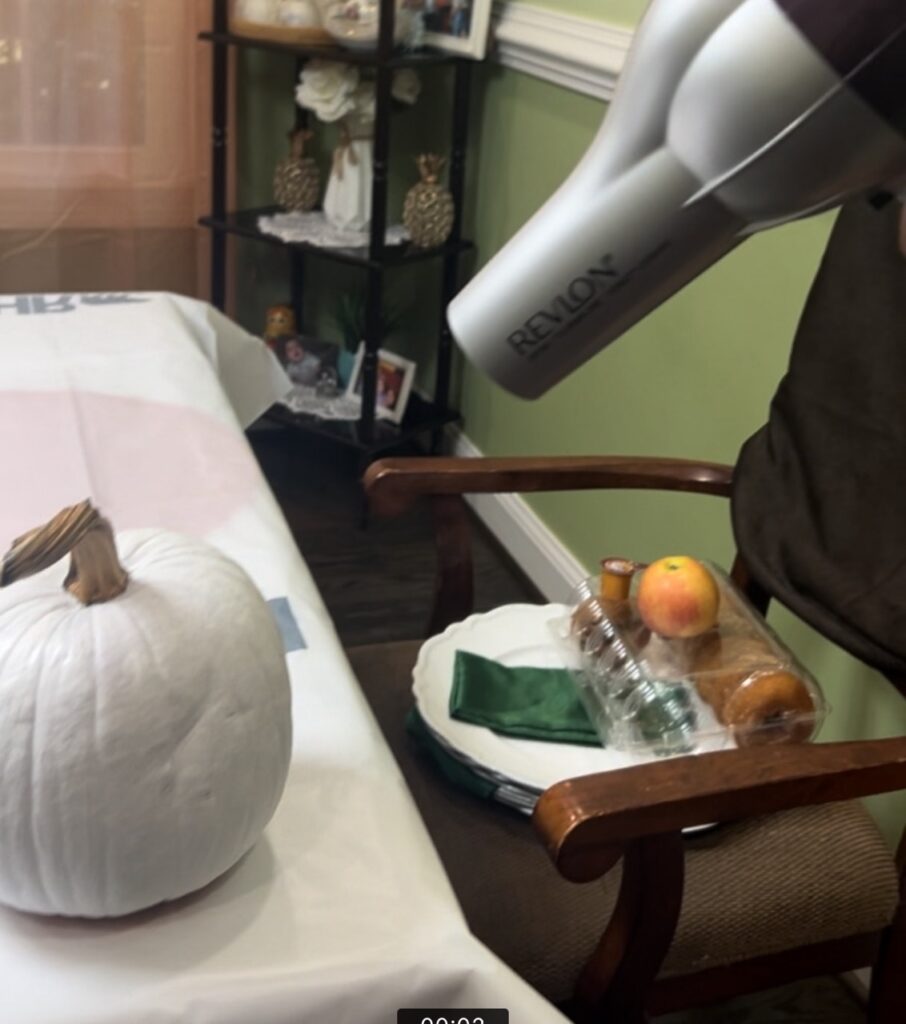
- Speed things up with a blow dryer! A quick blast of air will dry each layer faster, saving you time between colors.
To Base Coat or Not to Base Coat
Finally, we’ve reached the best part! I know you’ve been looking forward to this. A lot of people jump straight to painting, but thanks to your prep work, you can dive in without interruptions. Get comfy, take a sip of your favorite drink, and let those creative juices flow as you bring your pumpkin design to life!
Many people start with a base color, as not all designs work with the natural orange of the pumpkin. Some designs use a white or black base, while others keep it classic and paint directly on the orange. From there, you can add details like eyes or any other designs you choose. I’ll show you what we did below for a bit of inspiration!
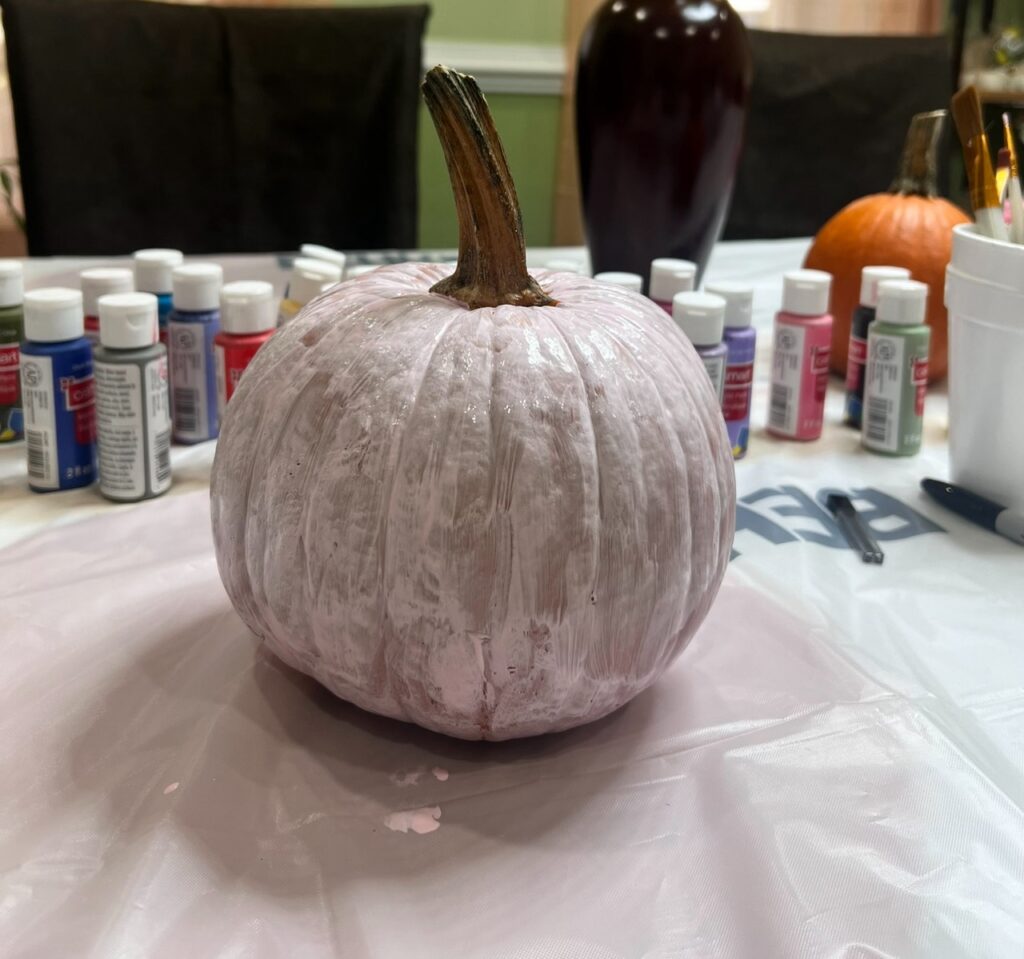
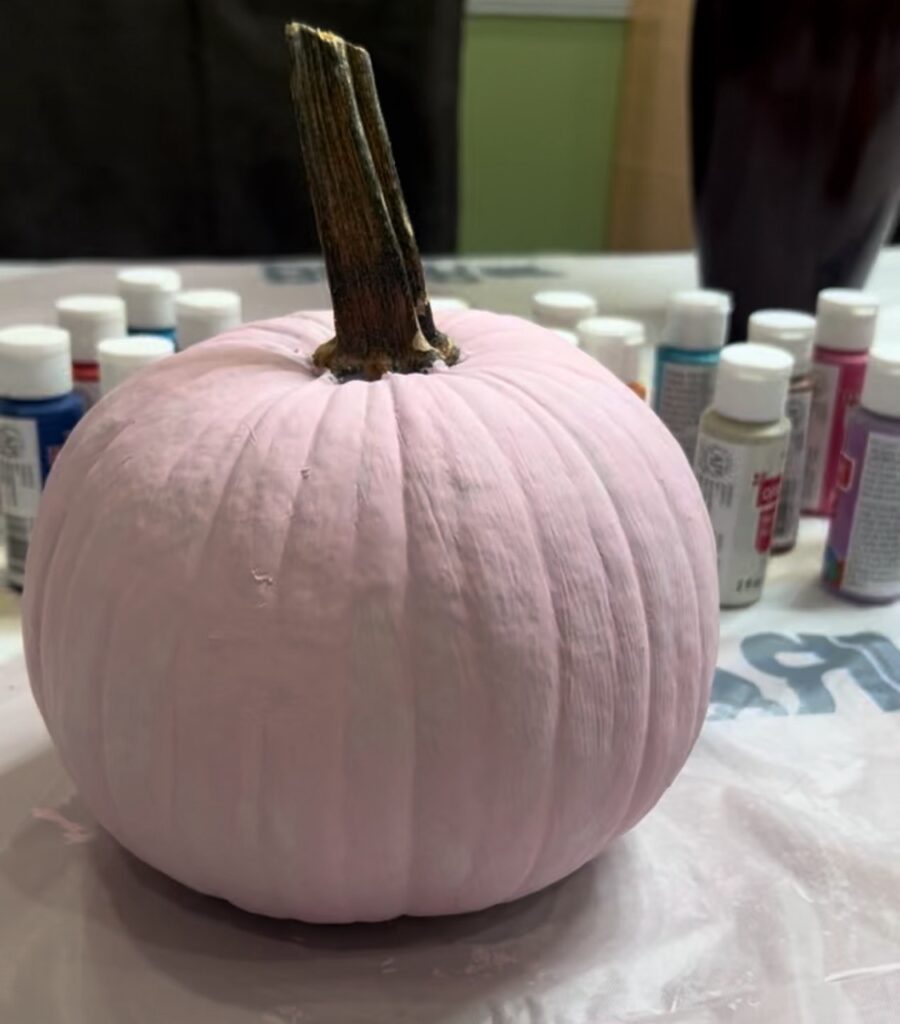
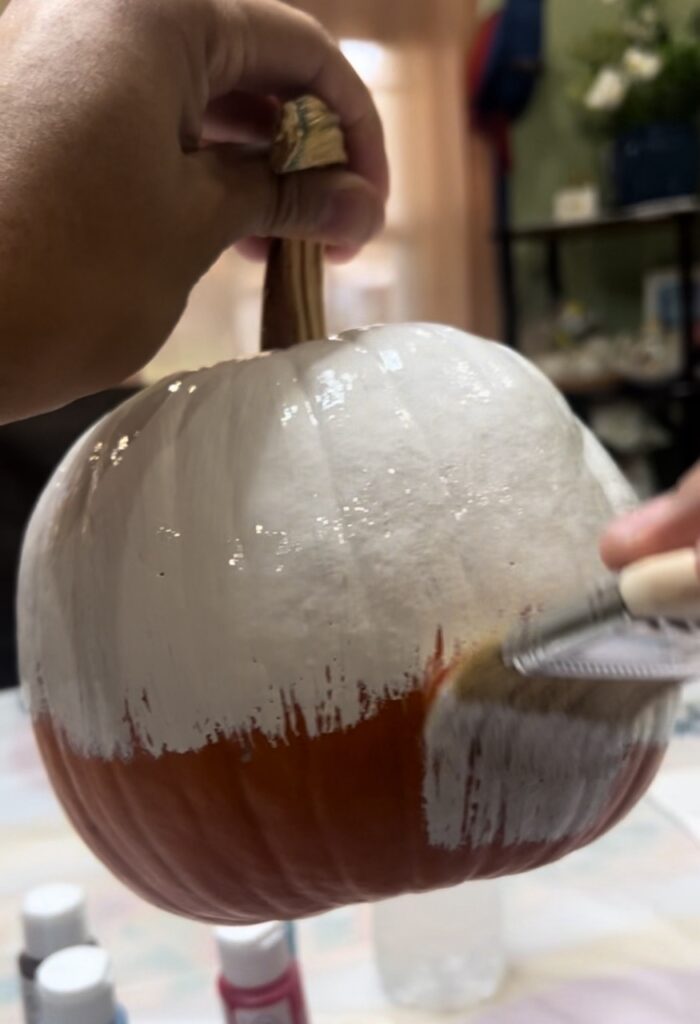
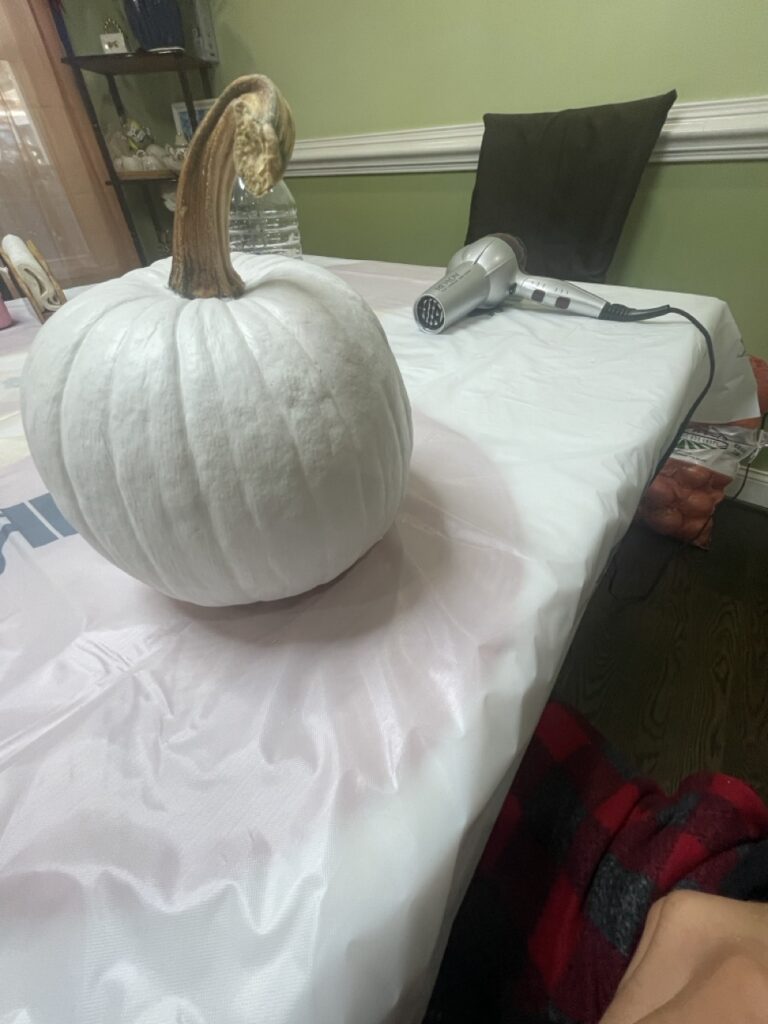
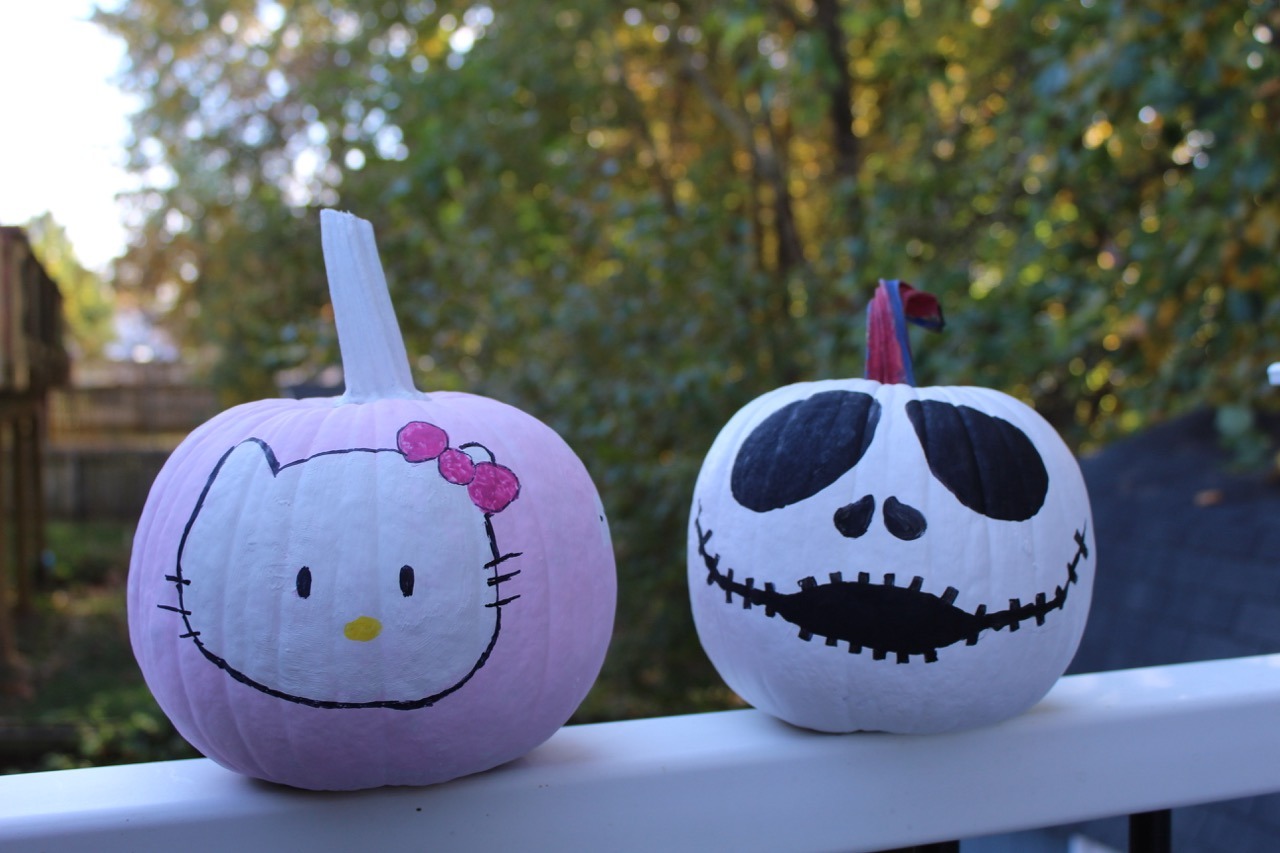
Susie chose a cute Hello Kitty design (here’s her inspiration link) while I tried my hand at a Jack Skellington pumpkin (link to my inspiration here). We’ll show both of our final designs at the end—we even got a little extra creative as we went along!
Keep the Momentum Going
After applying the base coat (optional), you can use a blow dryer to speed up drying time. Hold the dryer about 8 to 12 inches away to prevent the paint from cracking or bubbling. This trick saves you from waiting 10-30 minutes between layers—especially helpful when layering colors, like painting white over orange.
Attention to Detail
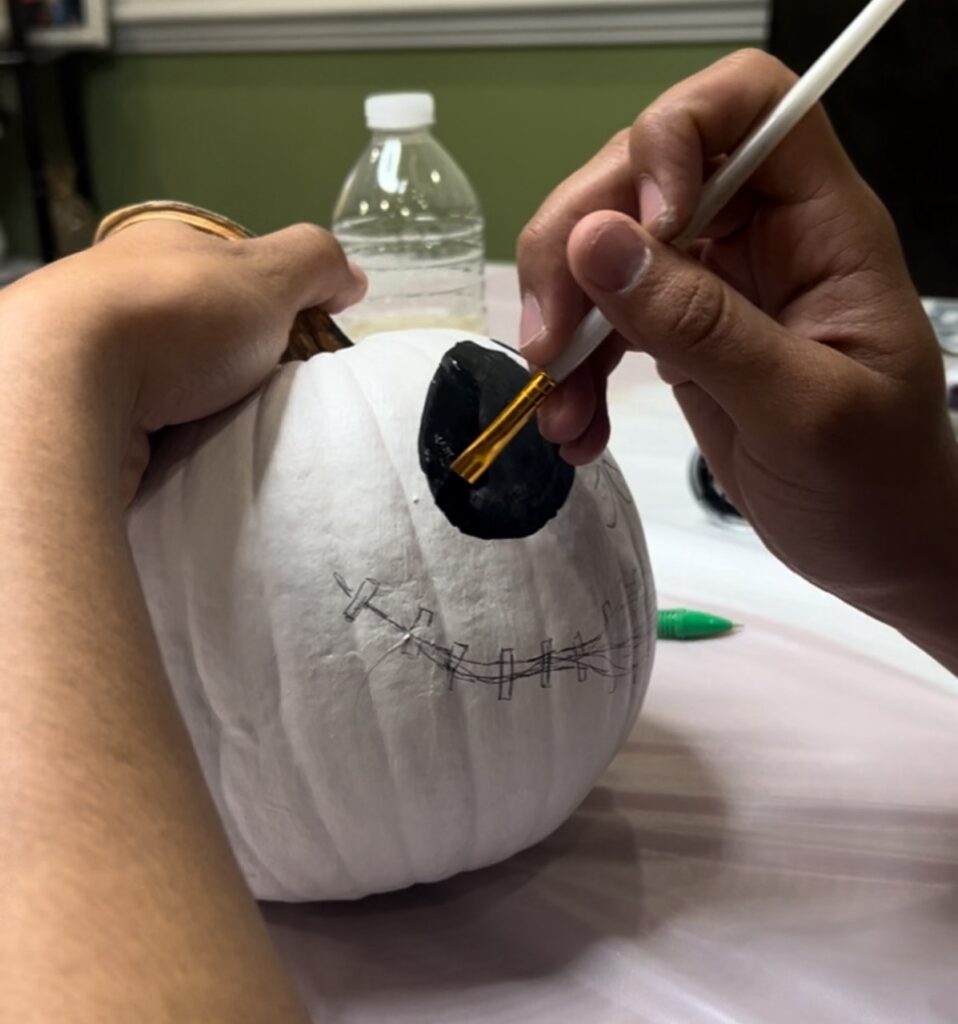
Start adding the rest of the designs, such as the eyes, mouth, etc. This part is fun, too, but you need to be a bit more precise since the pumpkin is a bit curvy. Just take your time and enjoy the process, so you want the final result even more! Using a pencil helps you outline and plan your design before painting on top of your base coat. Then, you can start to fill it in with paint. A sharpie can help finish the outline at the end so it looks nice and evenly, and the brush marks don’t show around the edges.
Bringing It All Together
Once you get to this step, assuming you painted in the pencil outlines, you are almost done. You are pretty much just wrapping up the pumpkin painting design. At this point, it’s just a reiteration process: paint, Dry, edit, and repeat. I bet your designs are looking great! You and your partner probably had a great conversation or a karaoke session painting! I know we did!
We decided to be a bit extra and did the backsides of the pumpkins as well. You can be as creative as you want with these! Add a few extra designs, do what your heart desires, and let the creative juices flow. Let us show you our final designs, and let us know what you think about them.
Final Results
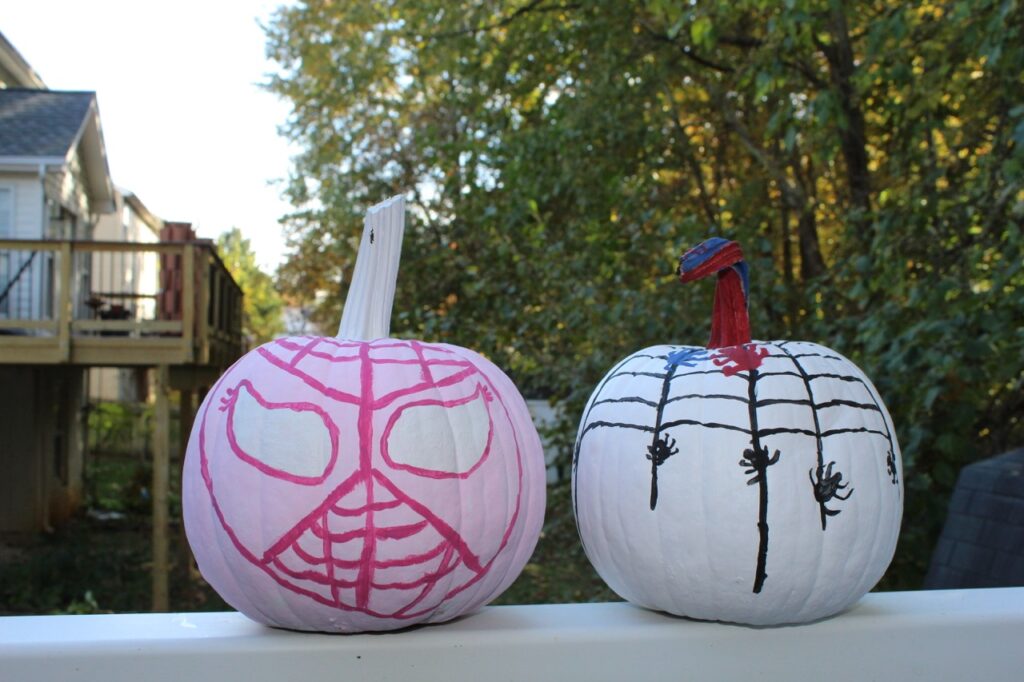
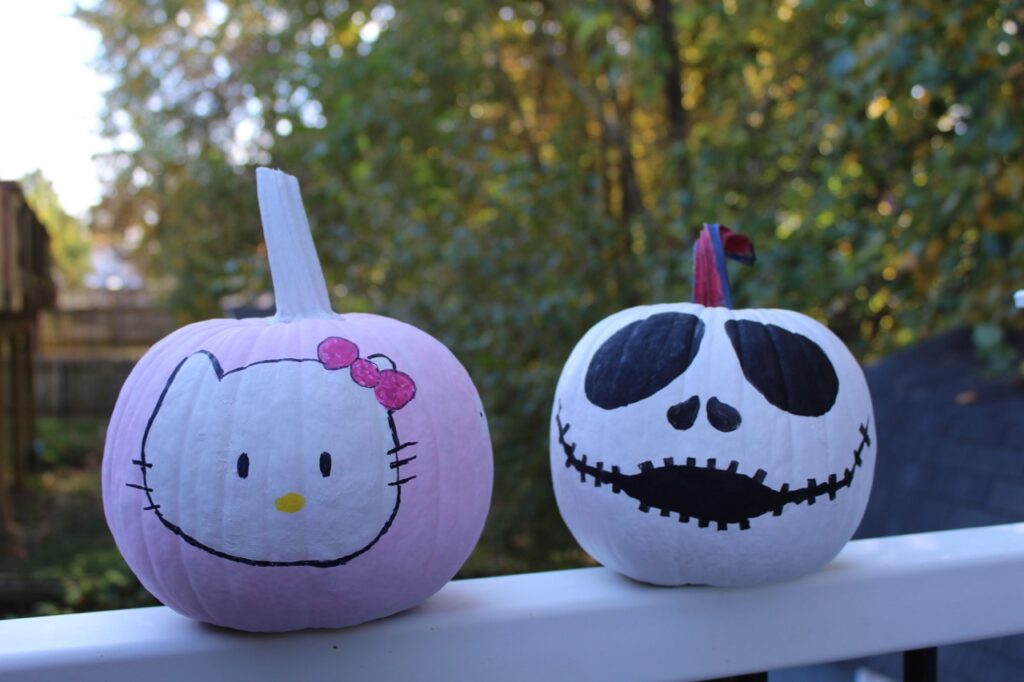
Here are our final results! This is what Susie and I came up with. Now, the real question is, which one did you prefer, Susie’s (Pink) or Steven’s (White)? Susie did Spider-Gwen and Hello Kitty. I did Jack Skellington and decided to do a cobweb with spiders to compliment her Spider-Gwen.
Pumpkin Painting Designs 2
What do you think—were these designs worth the effort? I bet you and your partner made some fantastic creations, too! Let us know what you made in the comments. Here’s a shot of us proudly holding our pumpkins; we even had a mini photo session on the deck once we finished. Susie was pretty excited and looking forward to this part!
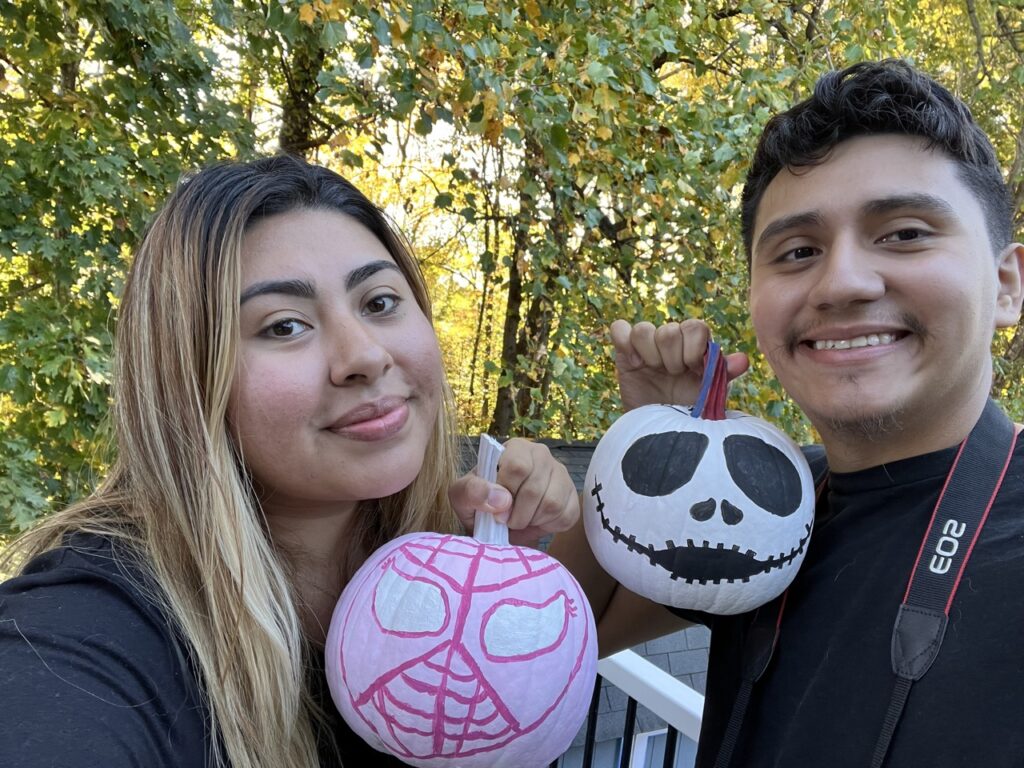
Thanks for joining us on this pumpkin painting adventure! Whether you’re trying out similar designs or coming up with your own unique ideas, we hope you had as much fun as we did. Don’t forget to share what you created with your partner in the comments and tag us if you post them on social media—we’d love to see what you come up with!
Happy painting, and enjoy the season with your favorite person. Until next time!
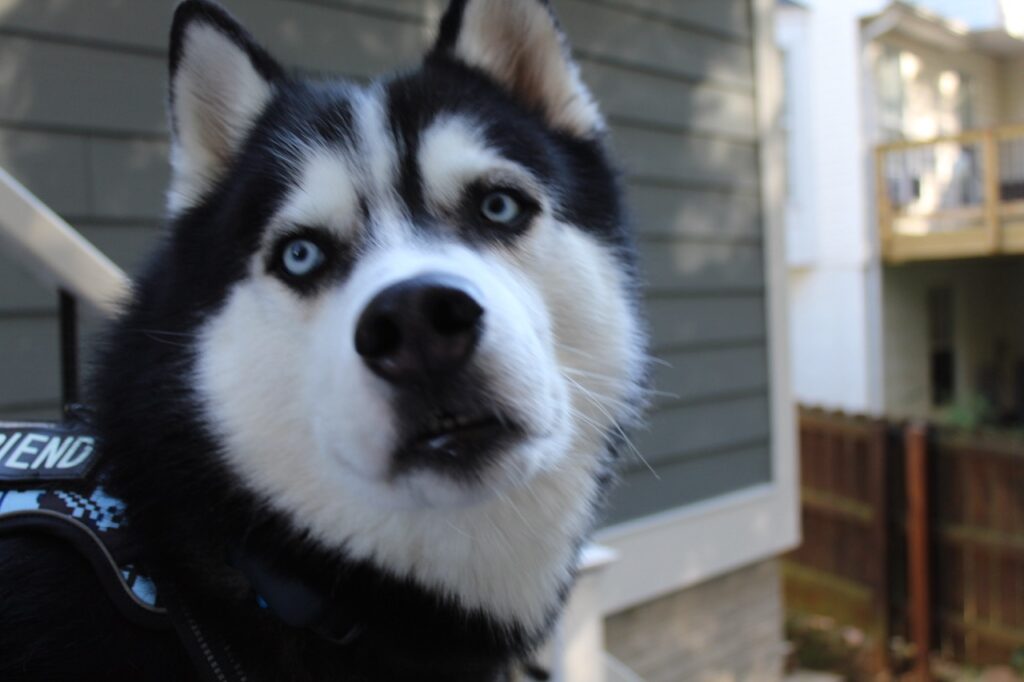
Bonus pic: Here’s Max, our husky, hanging out on the deck while we wrapped up. We snapped a quick photo of him enjoying the evening with us!
